Mastering Precision: Graver Geometry and the Science of Cutting
Gravers are the heart of precision engraving, metal smithing, and stone setting. Whether you’re a beginner or an experienced engraver, understanding graver geometry and the science behind cutting can significantly improve your control, efficiency, and the quality of your work. In this guide, we’ll explore how graver angles, shapes, and sharpening techniques impact cutting performance and why mastering this knowledge is essential for achieving clean, precise cuts.
The Importance of Graver Geometry
Graver geometry refers to the angles, shape, and cutting edge of a graver, all of which determine how it interacts with the material. The right geometry enhances cutting efficiency, control, and durability, while poor geometry can lead to chatter, tool breakage, and inconsistent results.
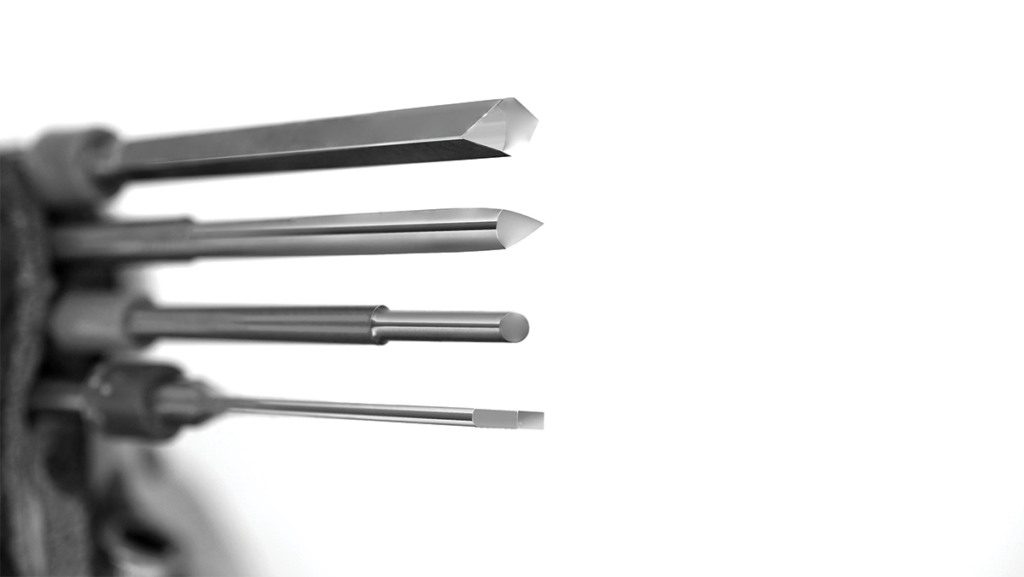
There are three key aspects of graver geometry:
- Face Angle – The angle of the graver’s cutting face, which affects penetration and cutting ease.
- Heel Angle – The small bevel at the bottom of the tool that controls the cut’s smoothness and prevents digging in.
- Belly/Relief Grind – The relief behind the cutting edge, determines how freely the graver moves through the material.
Each of these factors must be carefully adjusted based on the material being engraved, the type of cut required, and the user’s control preferences.
The Science of Cutting: How a Graver Interacts with Metal
The cutting process with a graver is a combination of pressure, angle, and material resistance. When a graver makes contact, it does three things:
- Penetrates the surface – The face angle determines how easily the tool enters the material.
- Shears the metal – The cutting edge pushes material aside, forming a chip or curl.
- Glides through the cut – The heel angle controls movement and prevents the tool from digging in too aggressively.
For optimal performance, gravers must be sharp, well-polished, and properly shaped. A dull graver tears the material rather than cutting it cleanly, leading to rough edges and tool slippage.
Understanding Face and Heel Angles
1. Face Angle: Balancing Sharpness and Durability
The face angle (typically between 40° and 55°) plays a crucial role in cutting performance and longevity.
- A smaller face angle (40°-45°) results in a sharper edge that cuts more easily but wears down faster.
- A larger face angle (50°-55°) increases durability but requires more effort to push through the material.
For softer metals like copper and brass, a sharper graver works best. In contrast, for harder metals like steel, a more robust face angle prevents premature wear.
2. Heel Angle: Controlling the Cut
The heel angle (typically 15°-20° with a length of 1.5 to 5mm) controls the graver’s movement and prevents digging in or slipping. The angle of the heel allows more freedom of hand placement and makes it so you do not have to be on the same plane as the piece you are cutting.
- A shorter heel (1.5-2mm) allows for tighter turns, making it ideal for fine detail work.
- A longer heel (3-5mm) provides more control on long, straight cuts but limits maneuverability.
The heel shape also impacts cutting performance. A rounded heel glides smoothly, reducing friction, while a flat heel provides stability for precise, controlled cuts.
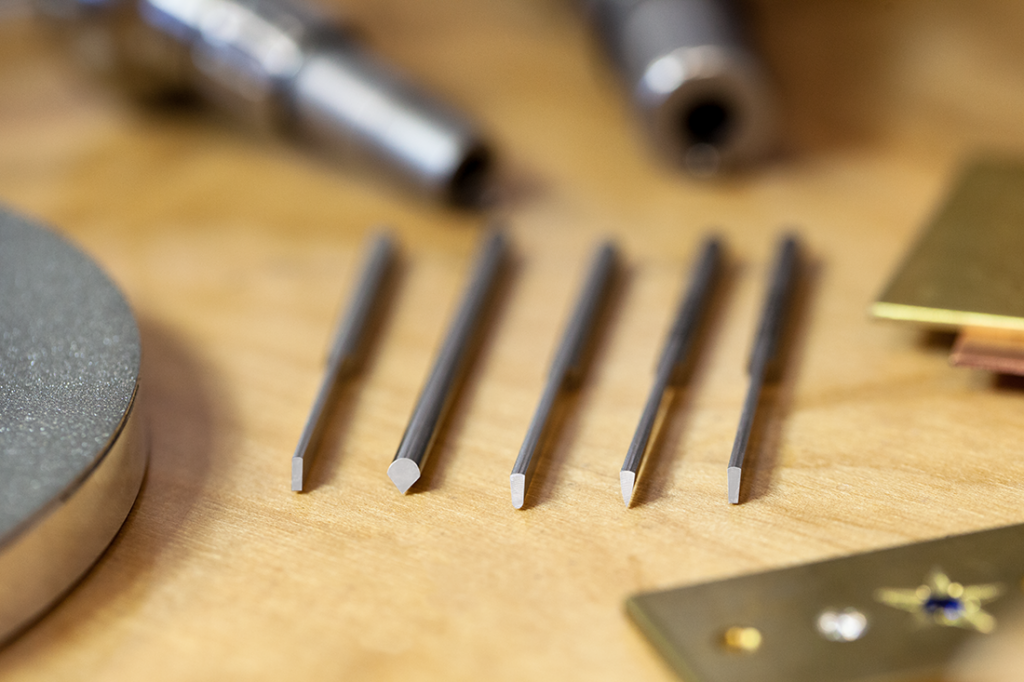
Choosing the Right Graver Geometry for Your Work
Different engraving tasks require specific graver geometries. Below are common applications and their ideal graver settings:
- Fine Line Engraving & Shading – Use a low face angle (40°-45°) with a short heel for easy control.
- Deep Relief Engraving – A higher face angle (50°-55°) adds strength for deeper cuts.
- Jewelry Engraving & Bright Cuts – A mirror-polished, sharp graver with a rounded heel creates clean, reflective cuts.
- Hard Metals (Steel, Titanium) – A reinforced face angle (55°) prevents premature dulling.
Selecting the right shapes and angles for each project ensures cleaner cuts, smoother lines, and greater efficiency.
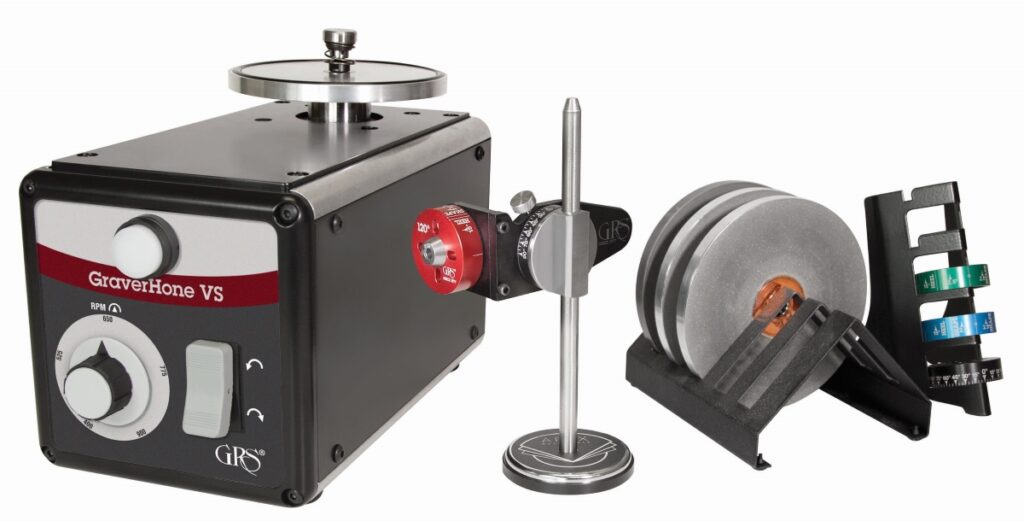
Sharpening and Maintaining Your Graver
A properly sharpened graver makes engraving easier, cleaner, and more precise. Here’s how to maintain the best edge:
- Use a fine diamond or ceramic stone to sharpen the face and heel.
- Polish the cutting edge with a buffing wheel or fine abrasive to reduce friction.
- Maintain a consistent angle using a sharpening jig or tool guide.
- Re-sharpen frequently to keep the edge crisp—waiting too long leads to excessive wear and difficult cutting.
By keeping your graver sharp and well-maintained, you ensure consistent results and prolong the tool’s lifespan.
Final Thoughts: Achieving Precision Cutting
Understanding graver geometry and cutting science is essential for precision engraving, jewelry work, and metal cutting. By mastering the relationship between face angles, heel angles, and material interaction, you can achieve cleaner, more controlled cuts with minimal effort.
Whether you’re engraving intricate scrollwork, creating deep relief designs, or working on delicate jewelry, choosing the correct geometry will elevate your craft. Take the time to experiment with different angles and sharpening techniques to find what works best for your style and material.
Want to make sharpening your graver a breeze? Check out the apex sharpening system for easy and consistent sharpening.