Materials
- 5-Head pinwheel practice ring
- (5) 6 mm princess CZs
Tools
- Large flat file
- Digital caliper
- #4 escapement barrette file
- 1.6 mm cup bur
- 0.6 mm ball bur
- #6 bud bur
- Sears’ ignition pliers
- Divider
- #40 flat graver
Can be used to remove any metal left after filing
How To Cut a Seat
1
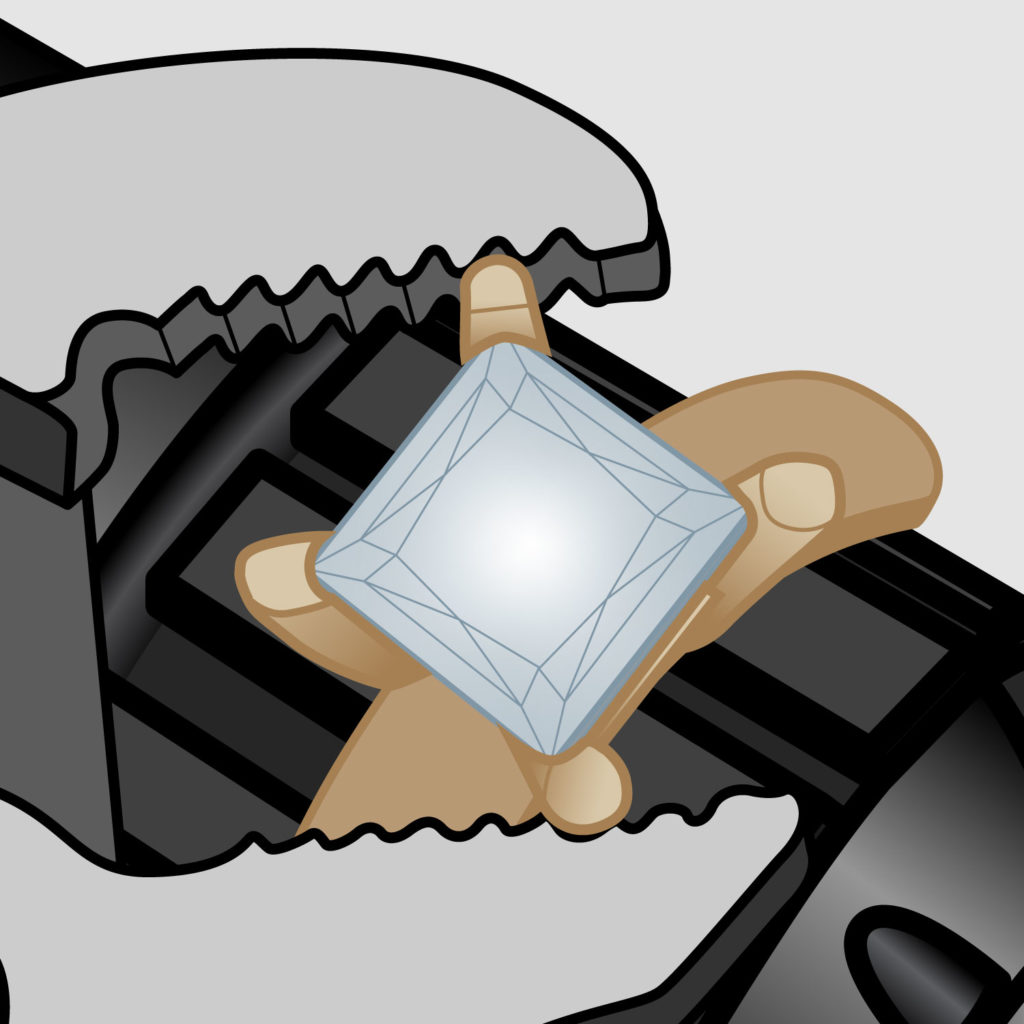
Sit a 6 mm princess cut stone upside down inside the prong setting. It should fit just inside the edges of the prongs. Adjust prongs as necessary.
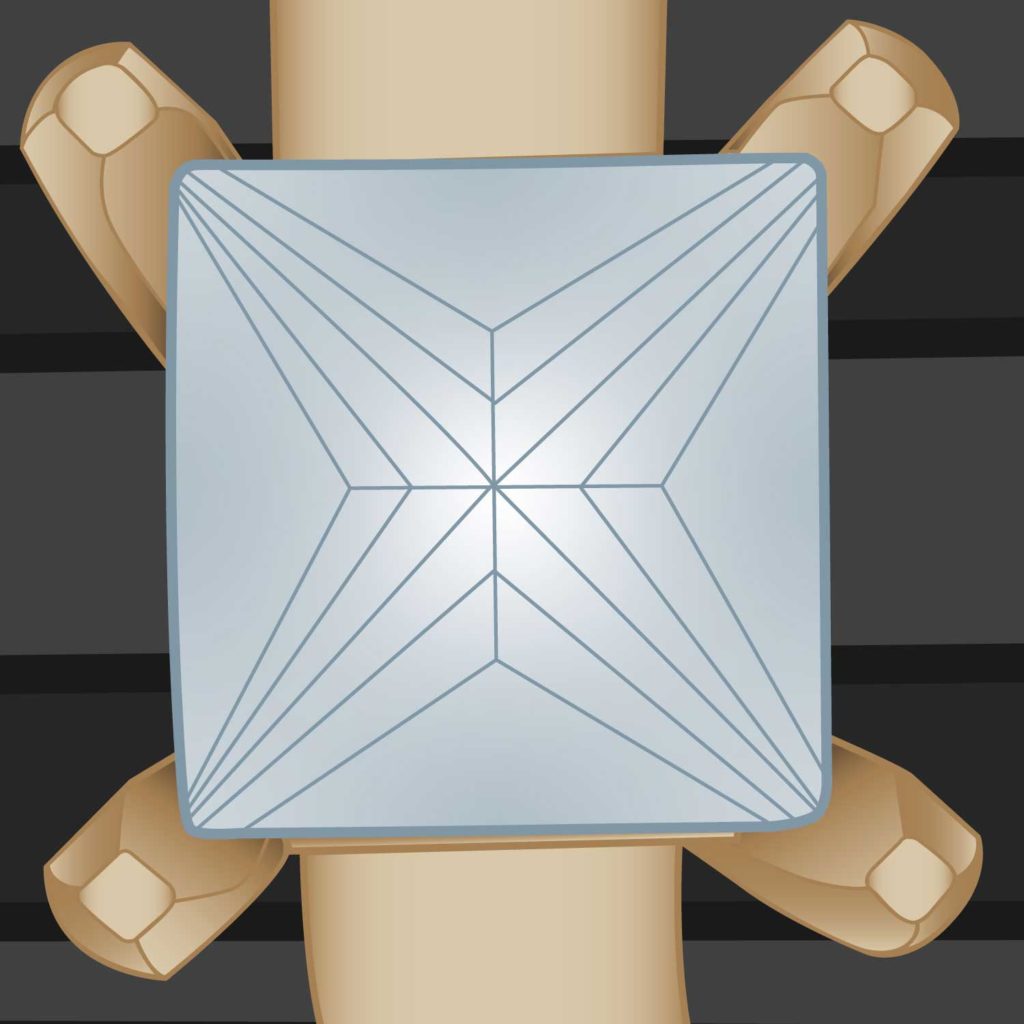
There should be clearance between the top gallery rail and the edge of the stone’s table.

2
Prepare the setting for the stone by first filing the tops of the prongs flat using a large flat file. Rotate the piece in a ball vise while filing to create even surfaces on prongs.
3
Use dividers to measure the distance from the stone’s girdle to its table.
4
Set dividers to ¾ of this distance and scribe a line onto the inside of each prong. This mark will indicate where to create relief cuts that will accommodate the pavilion and girdle of the stone.
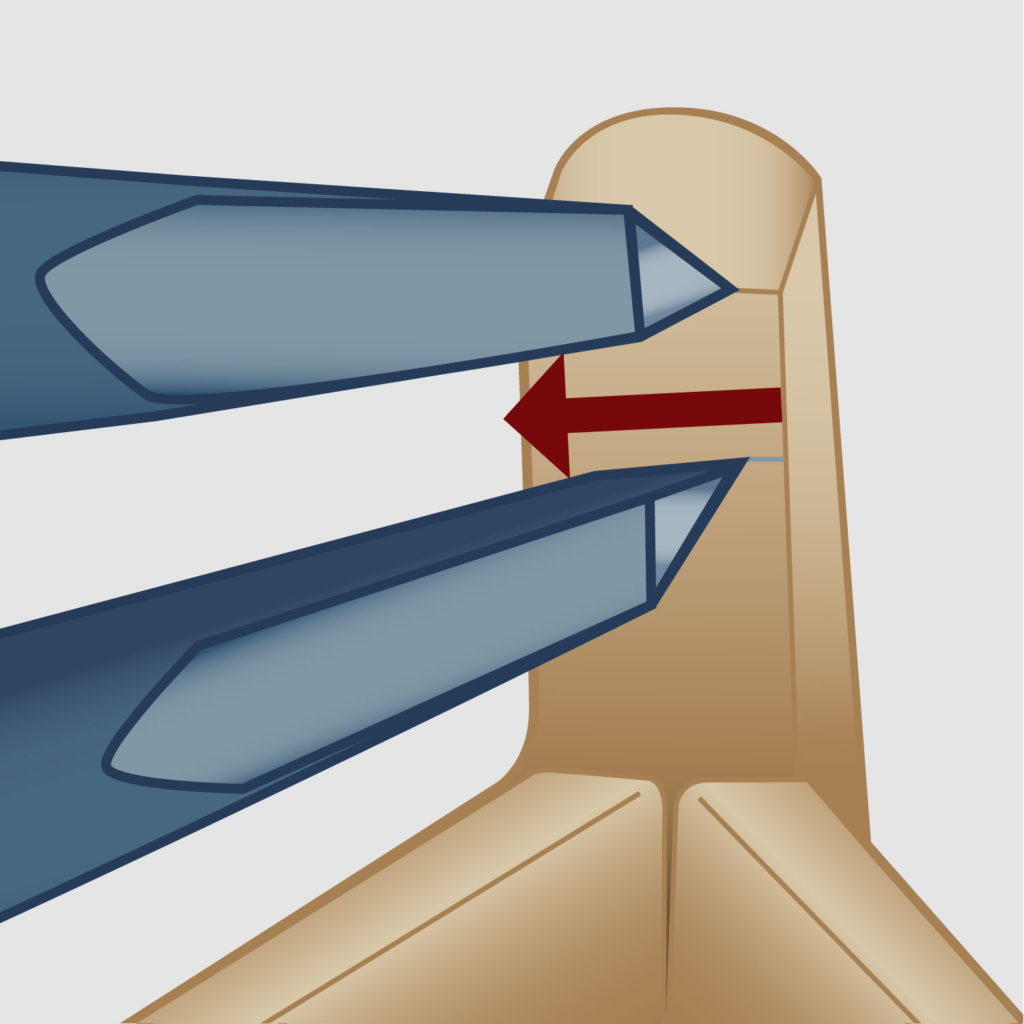
5
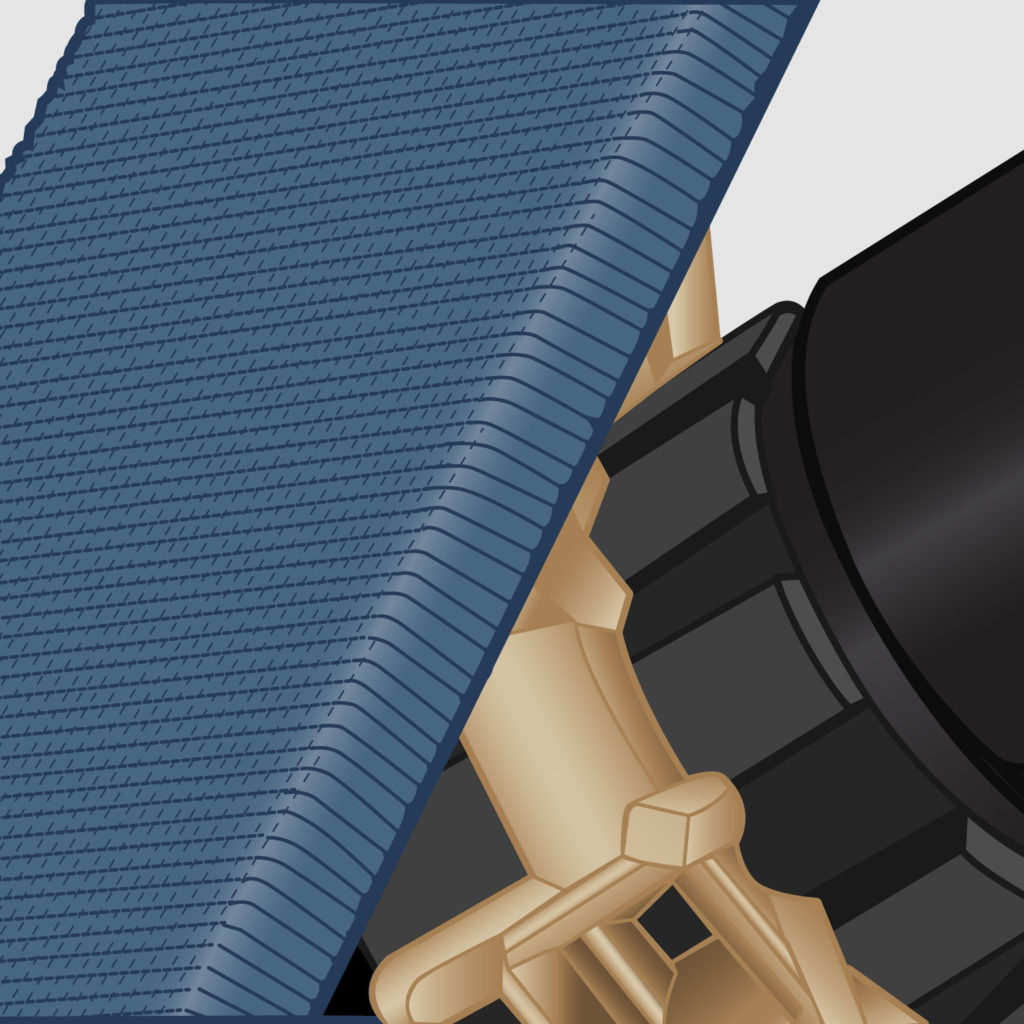
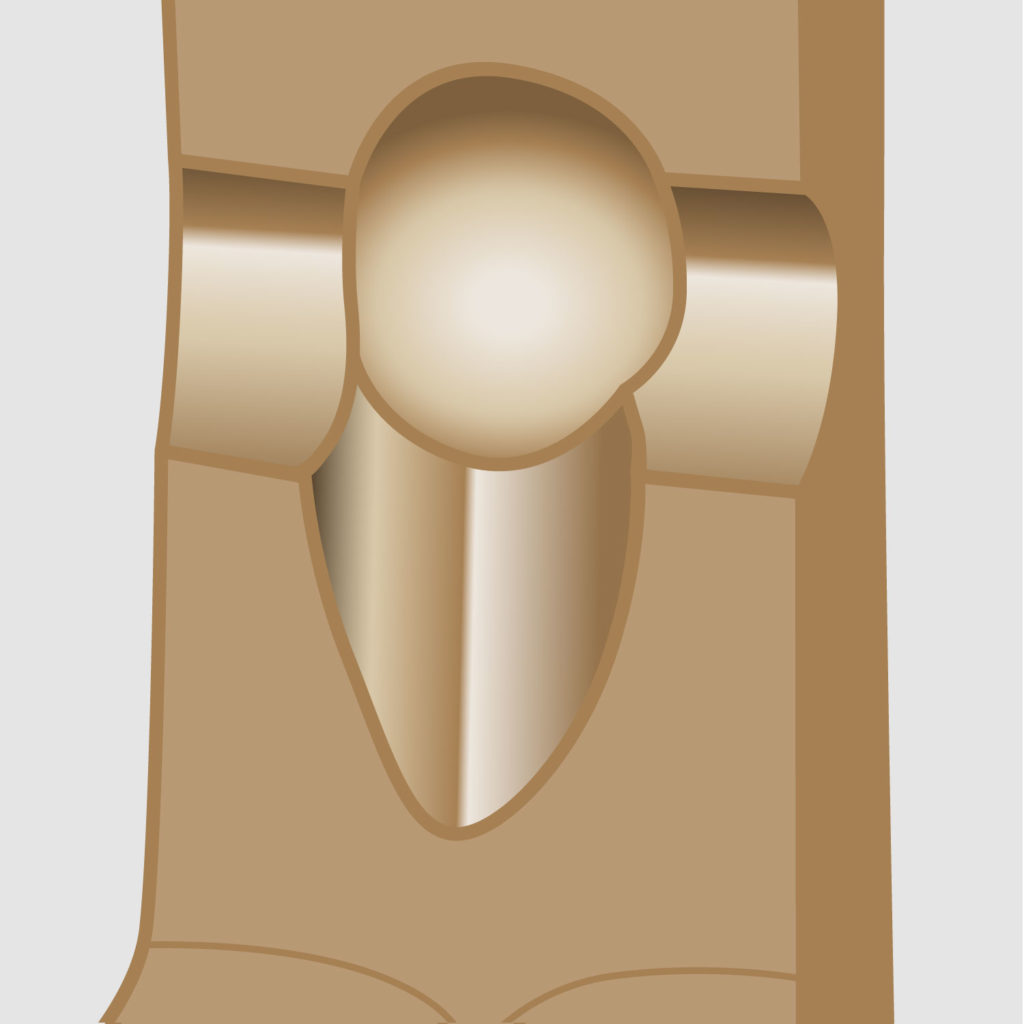
Create relief cuts. Align the shank of a 0.6 mm ball bur opposite the prong to be cut. Have the bur situated on the midpoint of the scribed line and continually sink the bur into the prong until it’s fully into the prong, but no deeper than halfway through the thickness of the prong. Sinking the bur tip more than halfway into the prong will weaken the prong’s structure. Continue to cut reliefs into each prong to accommodate the stone’s corners.

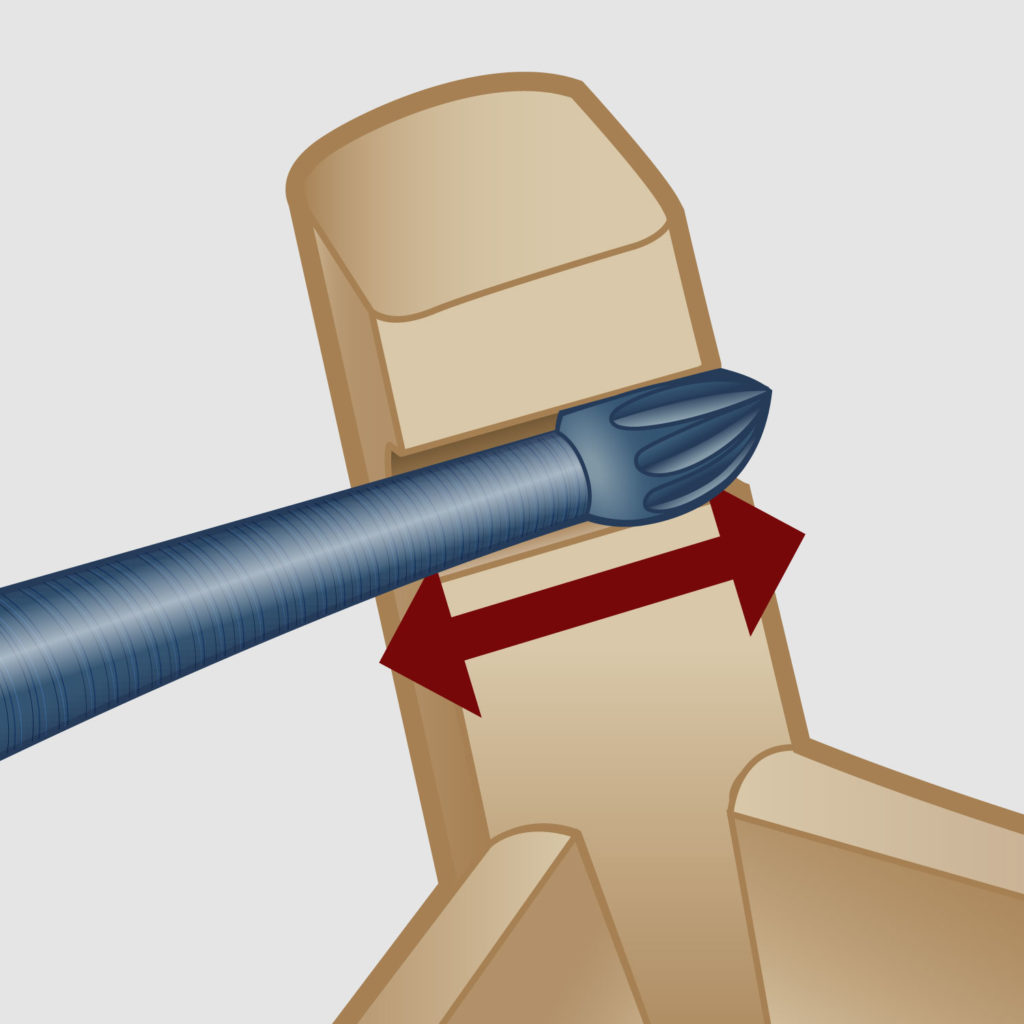
6
Use a #06 bud bur to cut along the scribed line. Sink the tip of the bud bur into the relief hole and angle it to be perpendicular with the prong, cutting along the scribed line. Do this on either side of the relief hole, all along the scribed line. Cut about half the depth of the bud bur into the prong to create a pocket.

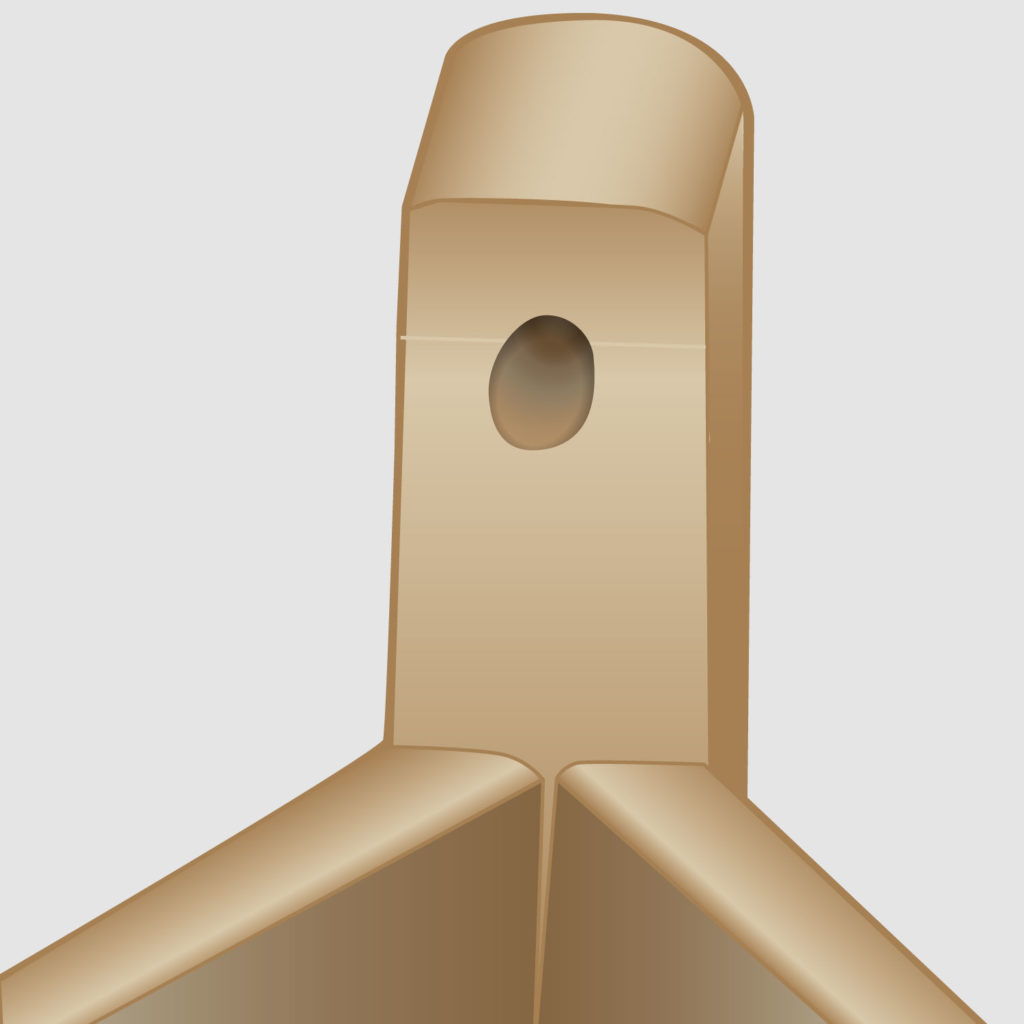
7
Smooth out the pocket by taking the bud bur across the scribed line. Go back into the relief hole with the ball bur to clean up any flashing.
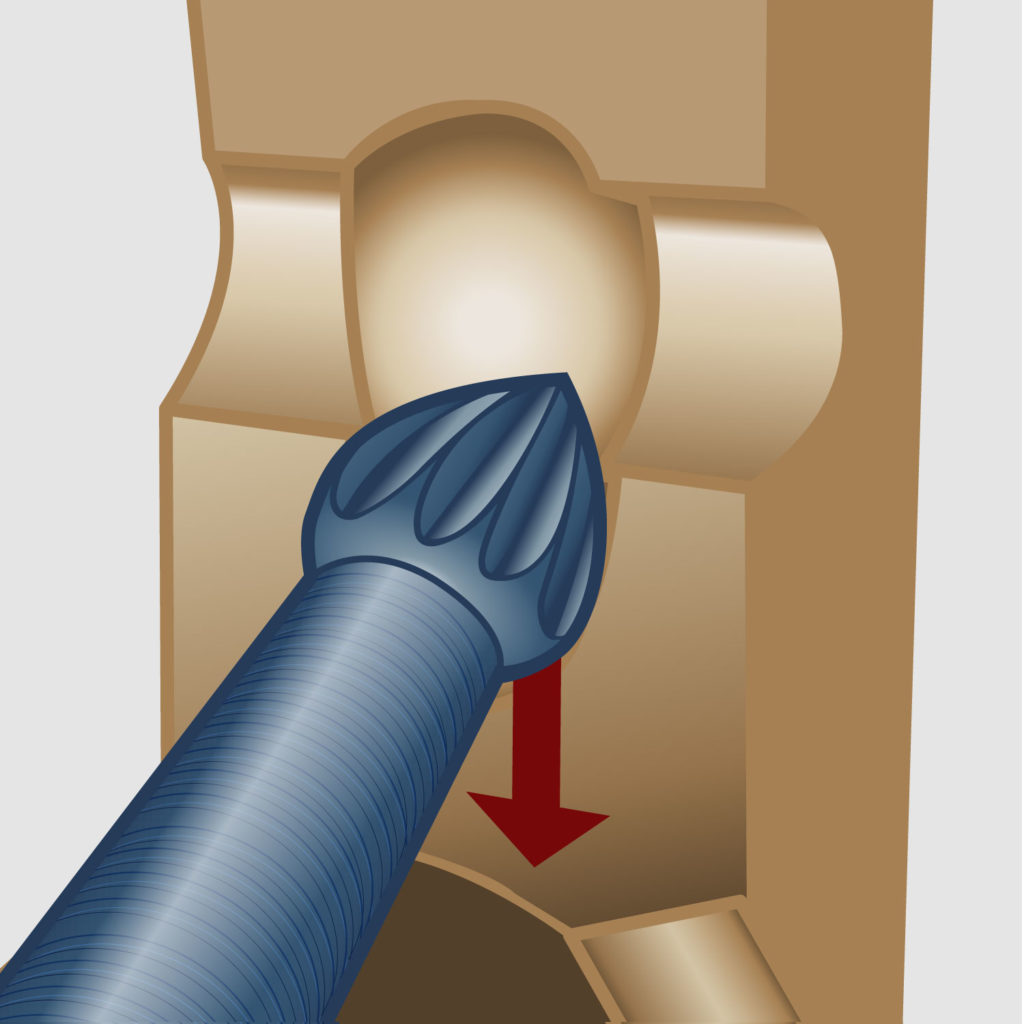
8
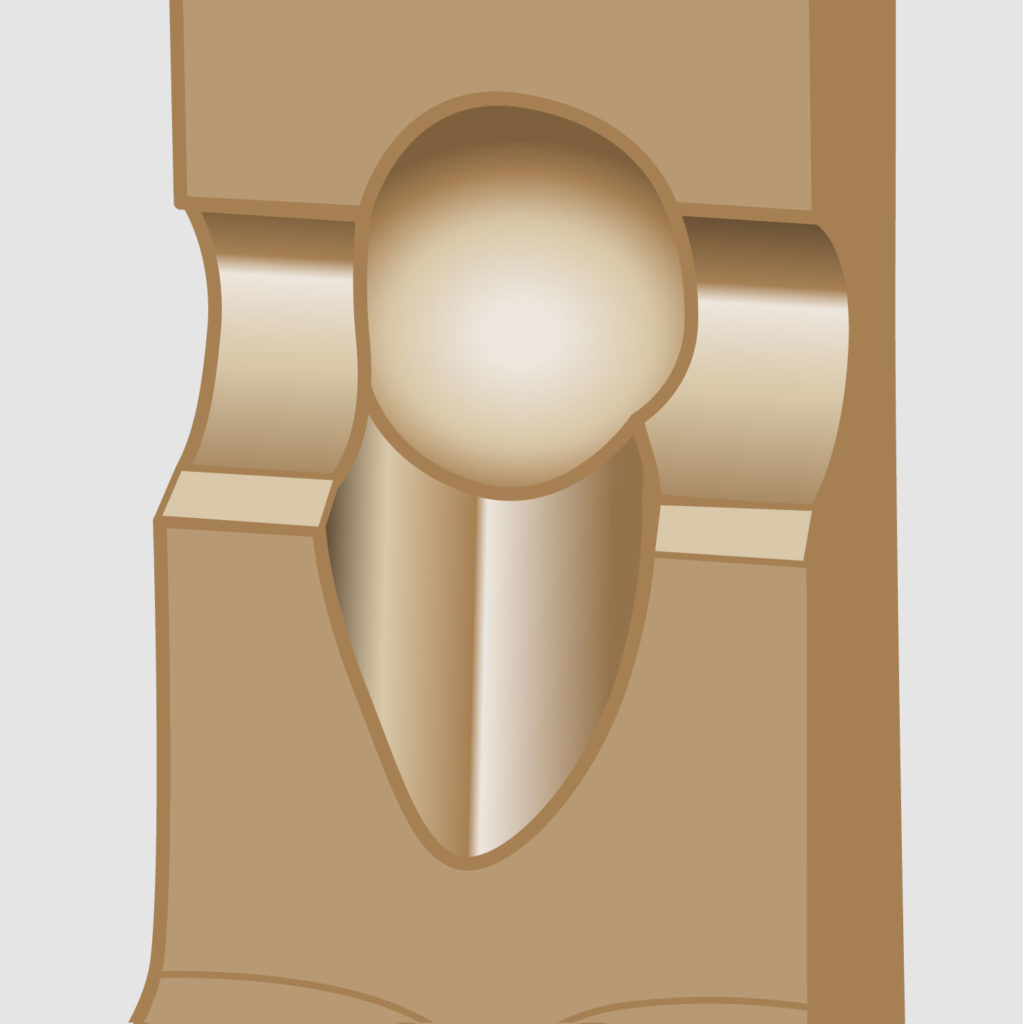
Using a #06 bud bur, create a cut along the length of the prong to accommodate the stone’s corner facet junction. This cut should match the cut made along the scribed line cut previously. Make sure the relief hole/pocket is still distinct. Cut back into the hole to clean any flashing that occurred while cutting lines. Remember the circular pocket cut is there to protect the fragile corner point of the princess cut gem. Our goal is to pinch the sides of the point without applying pressure to the point.
9
Place the stone into the setting to check its placement once again.
10
If needed, use a barrette escapement file to create a flat edge on the lower portion of the pocket. This edge accommodates the pavilion angle of the stone for a better fit. Be sure to file all prongs evenly.
Setting the Square Stone
1
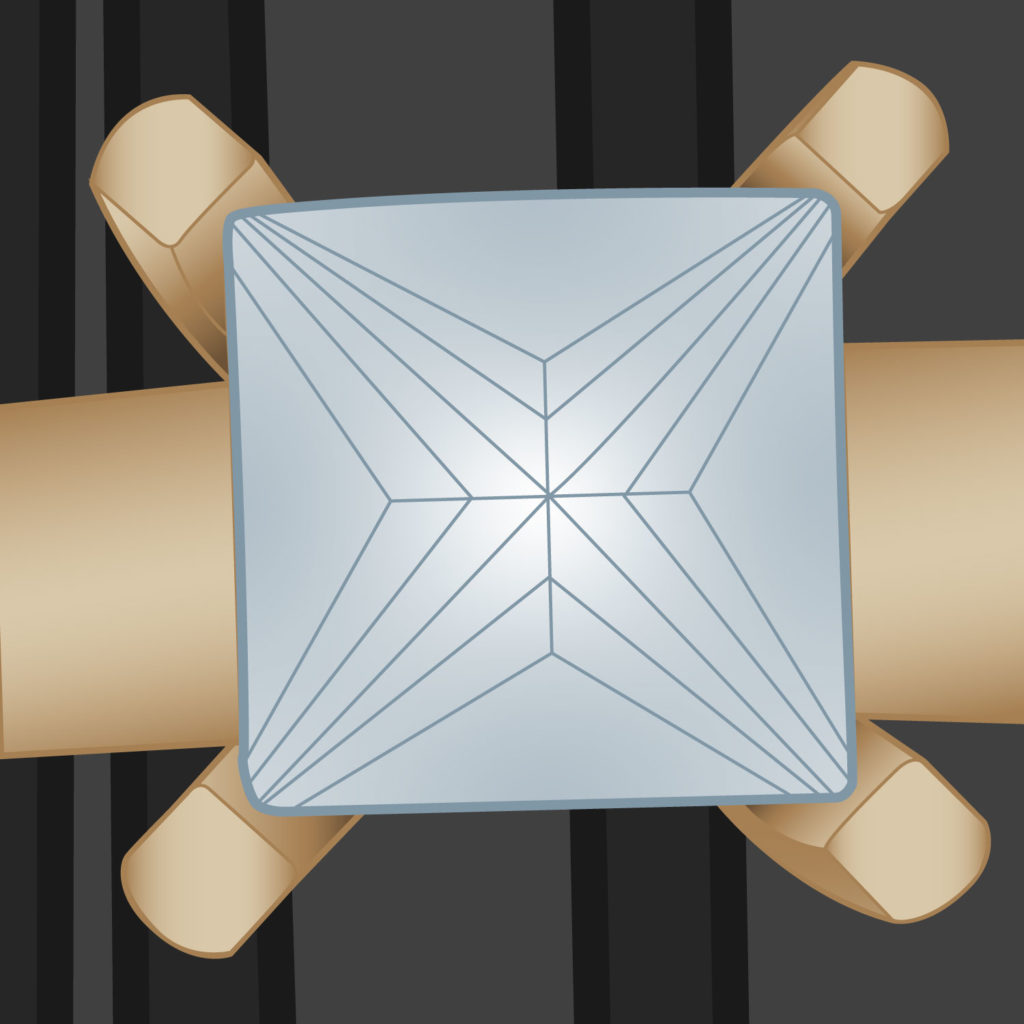
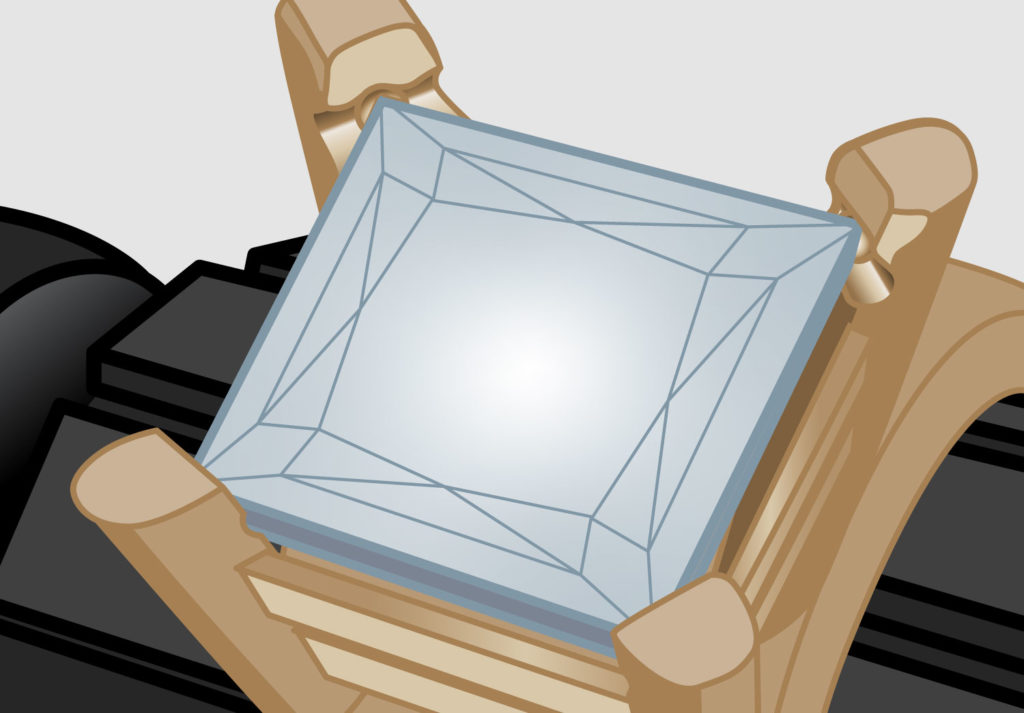
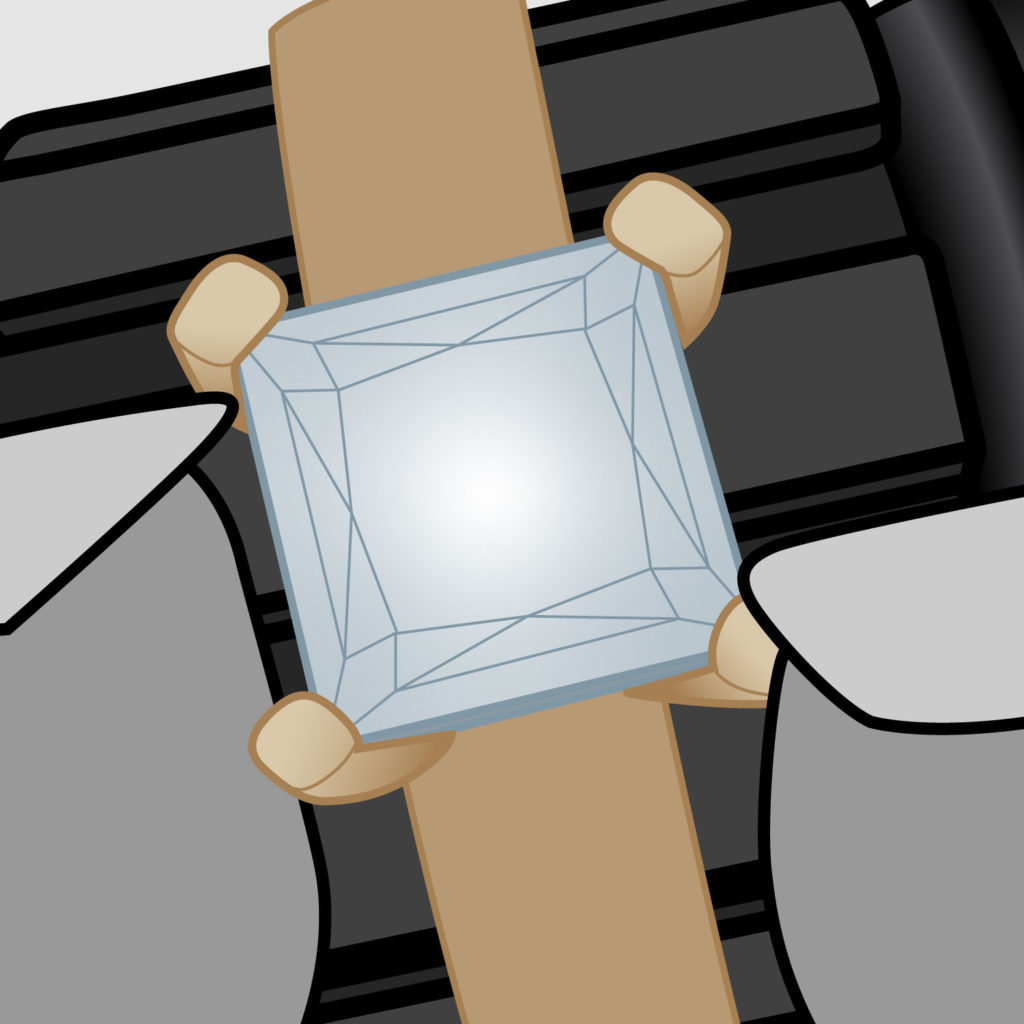
Place the stone into the seat. It should snap into the relief holes and be positioned as if it were set.
2
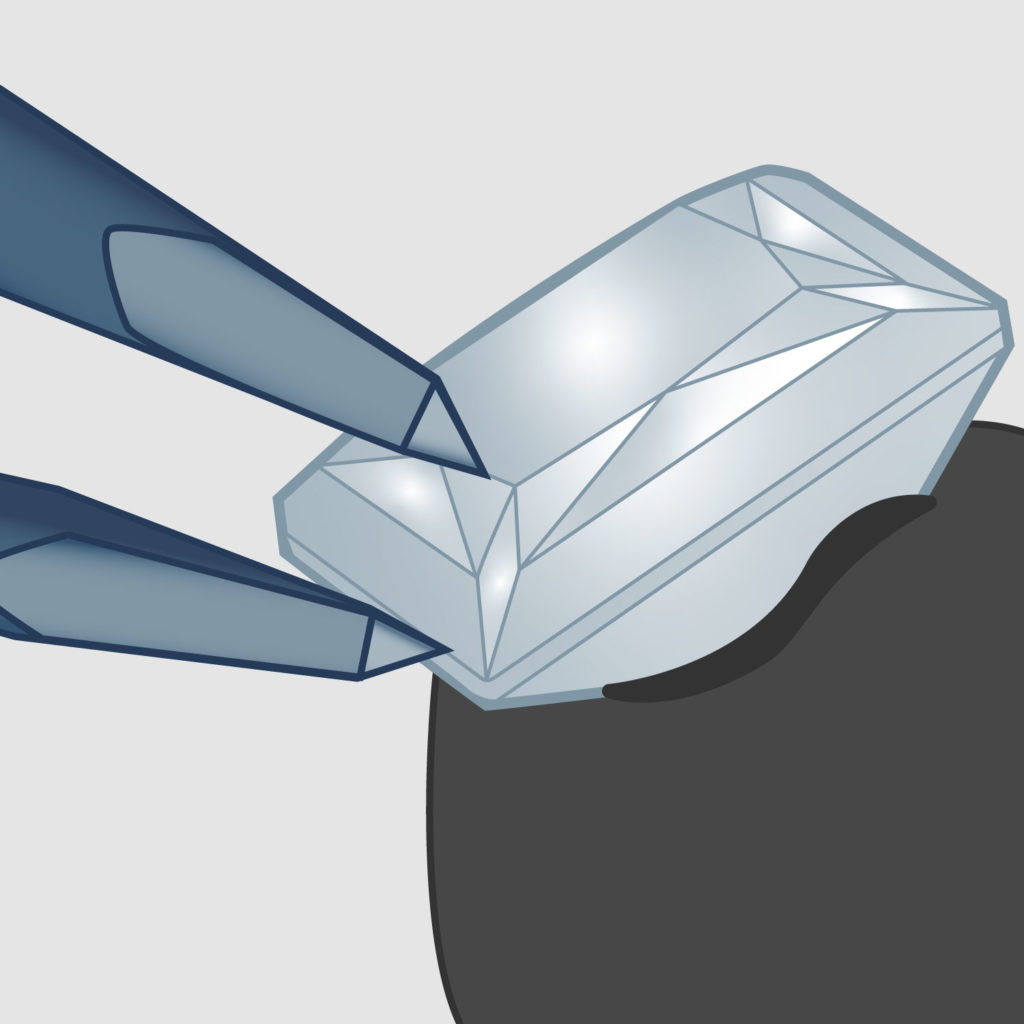
Use Sears’ ignition pliers to squeeze opposite prongs together with the pliers gripping the bottom of one prong and the top of its opposite prong. Rotate around the setting, pulling opposite prongs over the stone. The prongs should fit into the pliers’ teeth. If the pliers mar the prongs, the prongs were not fully prepared for this step.
3
Check that the stone is tight in the setting. It should not move when touched. Check that the stone is square in the setting.
4
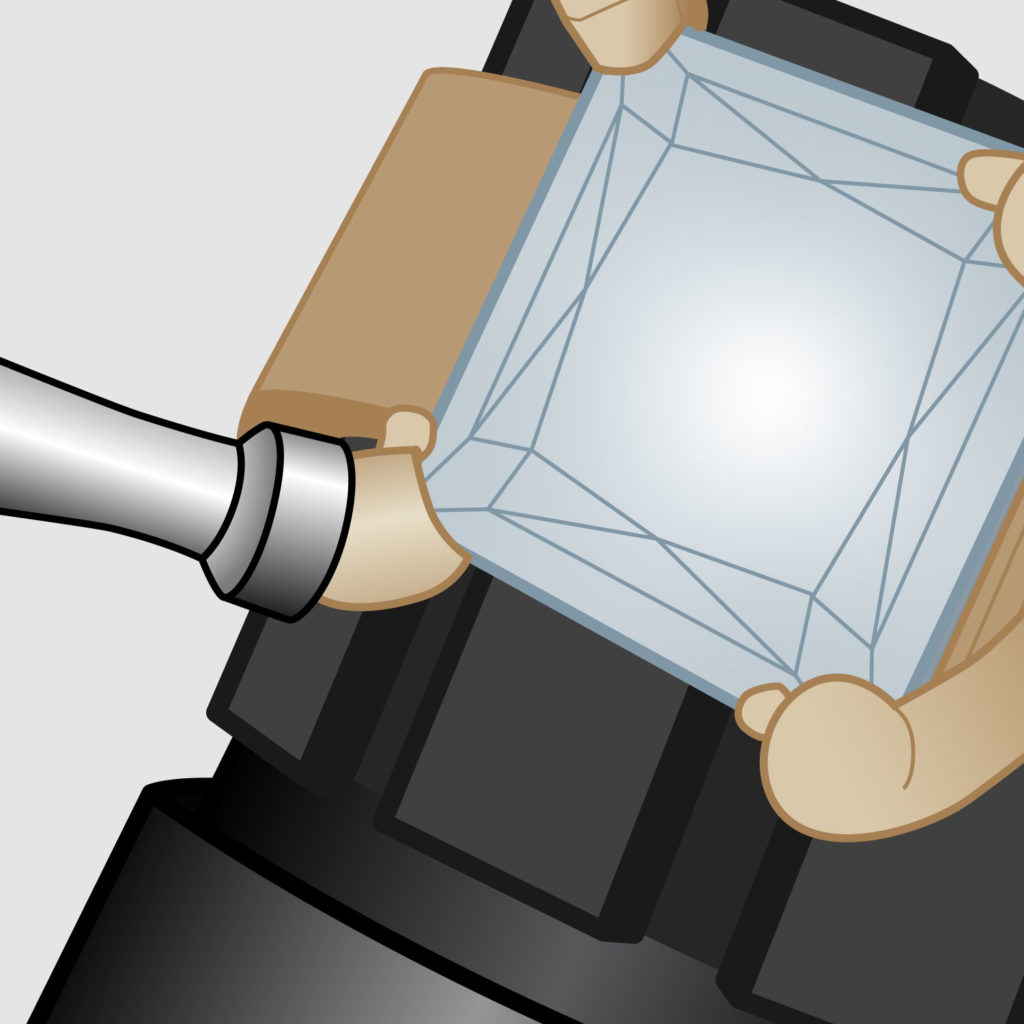
Use a cup bur that fits slightly over the tip of the prong to round its tip. Roll the cup bur over the prong in a circular motion, starting at the back and rolling the bur to the front.
5
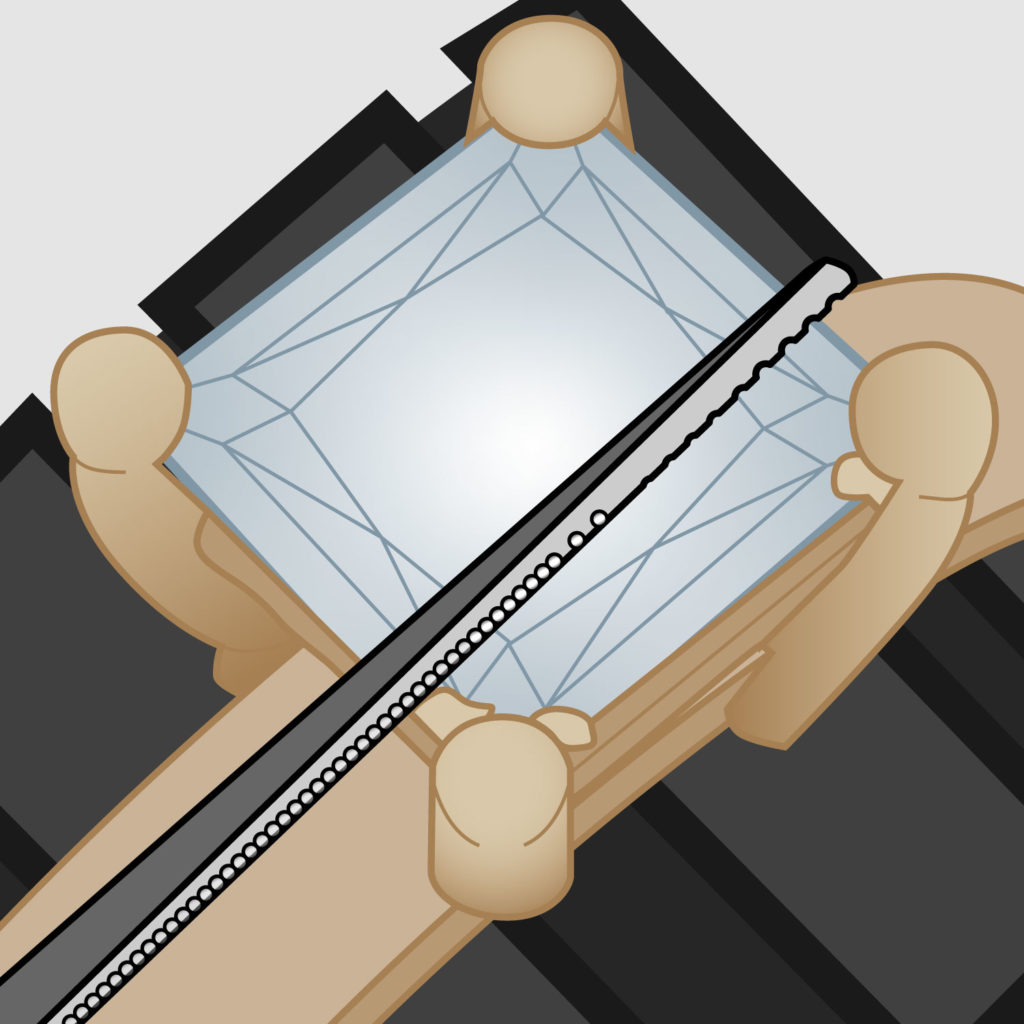
Use a small barrette escapement file to clean up flashing metal around the prongs.
6
Use a rotary tool and bristle brush to finish.

Ron Finch is the proud owner of Finch Jewelers in Lancaster, Pennsylvania. His family-owned store specializes in custom designed and handcrafted jewelry.
A graduate of Bowman’s Technical School, he has been in the jewelry industry for 45 years. Ron is both a Jewelers of America Certified Master Bench Jeweler and a GIA Graduate Gemologist. He strongly believes in keeping up with the constantly evolving technology of the industry and prides himself on blending old-world craftsmanship with new-world style.